How to Enable SSH Tunneling during a Database Source Authentication?
How to Enable SSH Tunneling during a Database Source Authentication?
Daton requires database sources to authenticate using SSH (Secure Shell) for enhanced security and data protection. This helps maintain the confidentiality, integrity, and availability of the data throughout the integration process.
Instructions to authenticate any of your DB sources with daton:
- Log in to your Daton account and select the DB source you want to integrate.
- Follow the first step of your integration according to the requirements of your source.
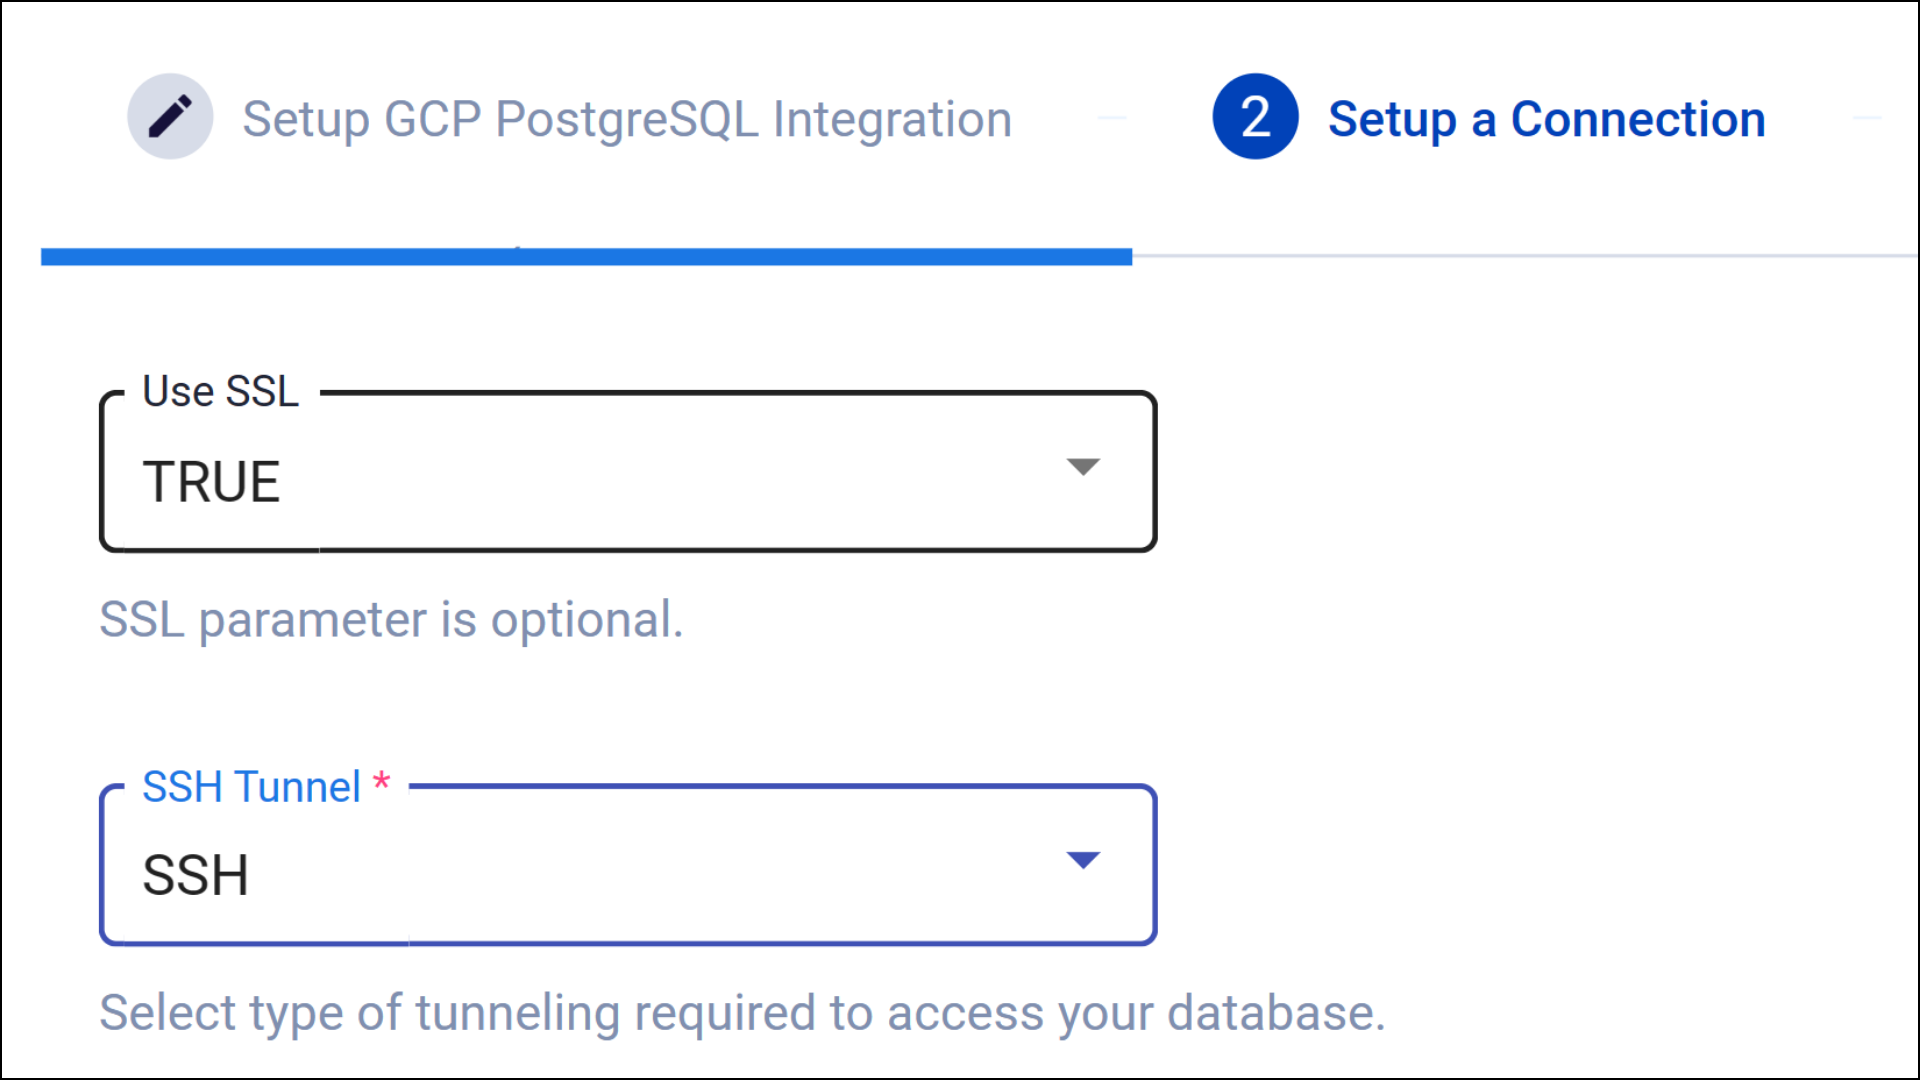
- After entering your Database authentication details in the second step of integration (Setup Connection), set Use SSL to TURE and select SSH from the tunneling options.

- Enter the necessary information for the SSH server, such as the proxy hostname, port number, and host username.

An SSH-Public Key will appear. Copy the SSH-Public Key and perform the following:- Open the Windows PowerShell application with administrative privileges.
- Use the ssh command followed by the path to your private key file and the public IP address or domain name corresponding to your integration. This command establishes an SSH connection to integration.
For example:ssh -i /path/to/your/key.pem user@your-public-ip-address
(Replace the placeholders with actual values) - Change to the .ssh directory by entering cd .ssh.
- Enter ls to check if the authorized_keys are present in the directory.
- Edit the authorized_keys by entering vi authorized_keys.

- Paste the copied Proxy SSH Public key from the integration into the authorized_keys file. To paste in the vi editor, click on "i" on the keyboard to get into insert mode, right-click, and then press the "Esc" button.
- To save the changes, enter :wq! in the editor and press "Enter". This command will write the changes to the file and quit the editor.

Note: You can add multiple SSH public keys to the authorized_keys file. Make sure there is one line space between each key for proper formatting.
- Now, back on the integration page, hit Authenticate, follow the further integration steps according to your source's requirements, and submit the integration.
After submitting, your integration will be successfully authenticated through SSH tunneling.
