Setup Instructions for Walmart Connect
Setup Instructions for Walmart Connect
In this article, we will look at the steps to integrate Walmart Connect with Daton.
Find the links to other articles related to Walmart Connect below:
- Essential Attributes and Supported Tables for Walmart Connect
- Schema Information for Walmart Connect
Prerequisites
- Advertiser ID
- Read access to Saras Analytics
So you need to
- Ensure you have Admin-level access to the account
- Grant read access to your advertiser account for Daton to fetch data from your account
Steps to Grant Read Access to an API Partner
You need to grant read access to your advertiser account for Daton to fetch data from your account.

Ensure you have Admin-level access to the account. If you have any doubts please refer Walmart's official documentation.
Part 1: Grant API Partner Access to Saras Analytics
To grant an API Partner access to your account via the Sponsored Search API, Account Admins must follow this process:
- Log in to the Walmart Connect Ad Center using an Admin account.
- Click the Admin (Gear Icon) in the top right corner of the dashboard.
- Select User Access from the dropdown menu.
- Navigate to the API Partner tab (Important: Do not use the "Users" tab).
- Click the Add Partner button.
- In the dropdown list of approved Walmart API partners, search for and select Saras Analytics.
- Under Access Type, select Read from the dropdown menu.
- Click Add Partner to save your changes.
Part 2: Fetch Your Account ID (Advertiser ID)
Once the permissions are granted, you need to provide us with your Advertiser ID to complete the connection:
- Log in to the Walmart Connect Ad Center.
- In the top right corner of the dashboard, click on the Gear Icon (Settings/Admin).
- Select Account Settings from the dropdown menu.
- On this page, your numeric Advertiser ID will be clearly displayed just below your official Account Name. (Note: Ensure you copy just the numbers, with no spaces).
Setting up the Integration
1. Log in to your Daton account and search for Walmart Connect in the list of Connectors, then click Configure.
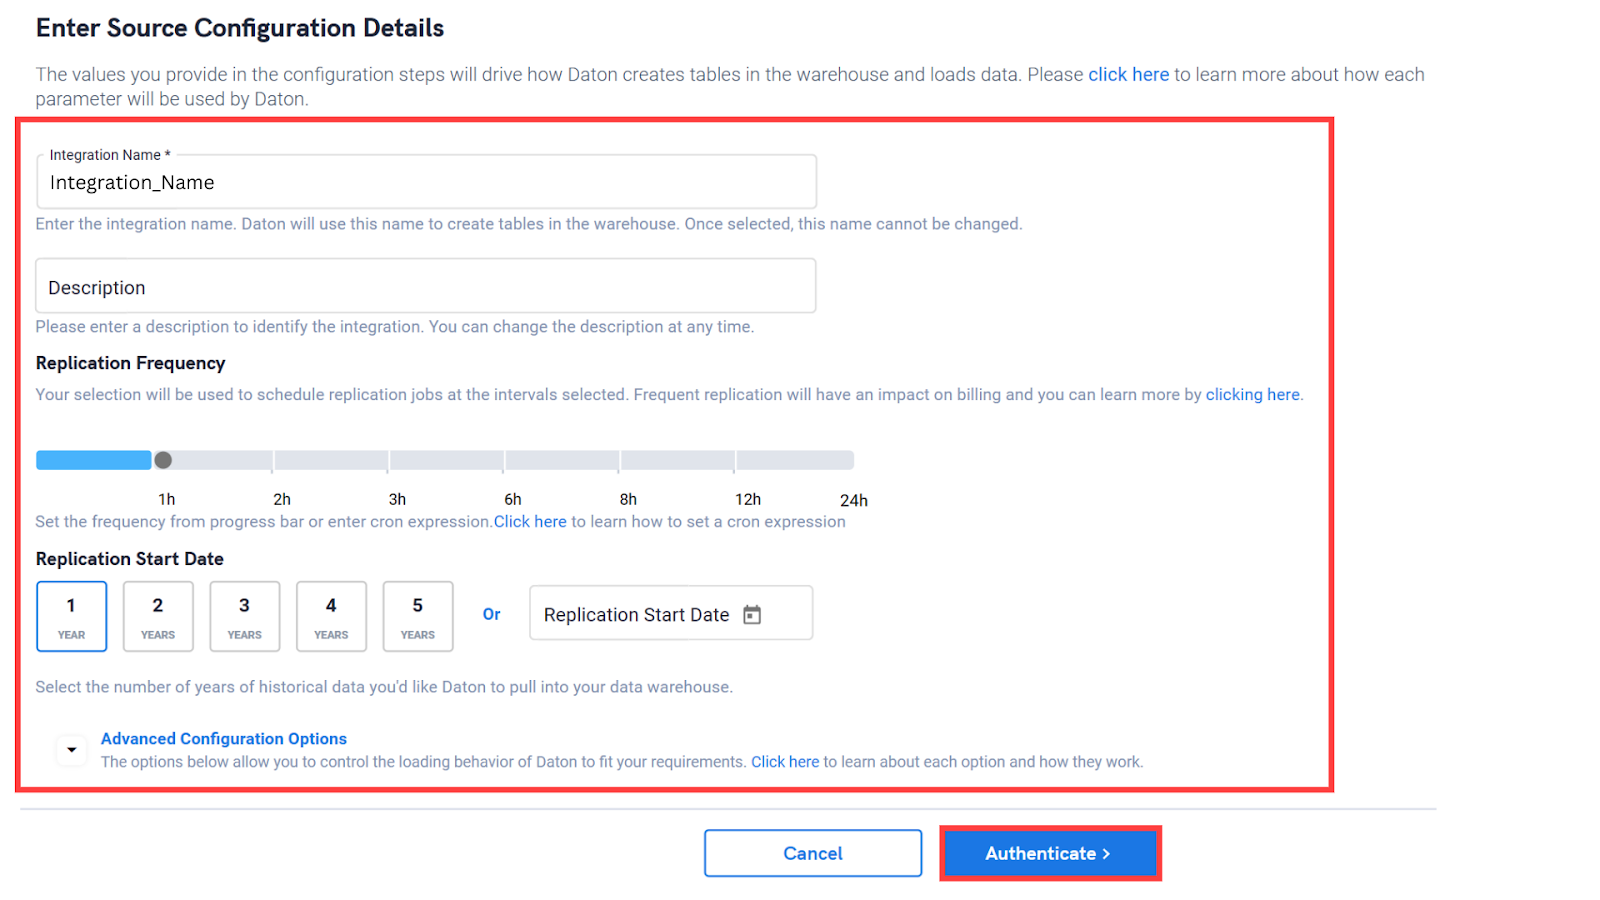
2. Enter the following details and click Authenticate:
- Integration Name
- Replication Frequency
- Replication Start Date
Note that the Integration Name will be used to create the integration tables and cannot be modified later.
3. Provide the following credentials and click Next:
- Advertiser Id

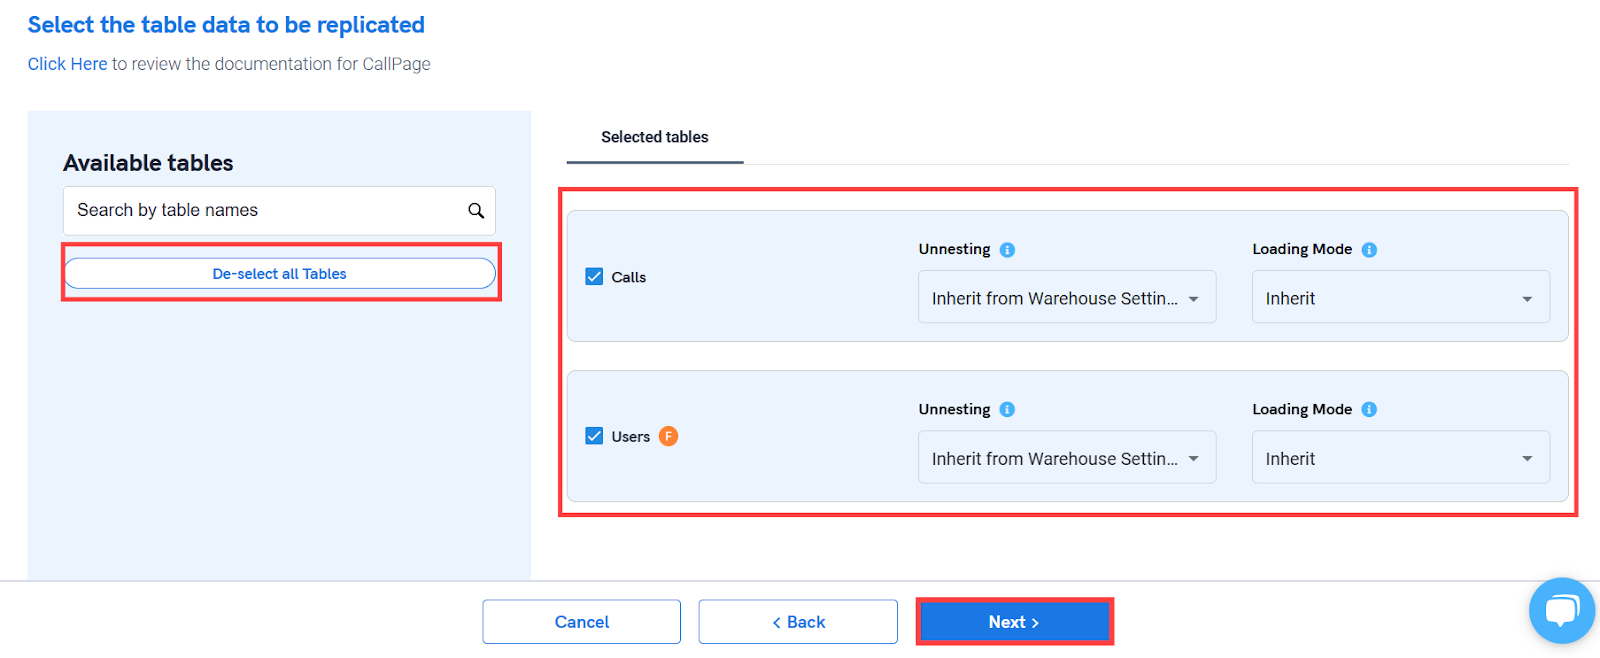
4. After successful authentication, you can choose from the list of available tables. Select the required tables and click Next.
5. Select the required fields for each table and click Submit.
6. Select the destination and click Confirm.

An integration successful message will be displayed.
Important Note
- Integrations would begin in the Pending state and change to the Active state once the first job successfully loaded data into the configured warehouse.
- Users can check job status and process logs from the integration details page by clicking on the integration name in the active list.
- Users can Re-Authenticate, Edit, Clone, Pause, or Delete the integration at any moment by clicking on settings. You can also adjust the frequency and history of the integration.
- On the Sources page, click Integration to access each table in your integration. The page also shows the state of each table, the last replicated time, and the Reload access buttons.